
Emptying RV tanks feels intimidating until you do it once, and then it becomes a routine stop. The job follows a fixed order: connect the hose, empty the black tank, empty the gray tank, and rinse. This guide covers the gear you need, each step in order, and the habits that keep a dump station clean and quick. Read it once, and your first dump will feel familiar.
Know Your Three Tanks
Most RVs have a fresh water tank, a gray water tank, and a black water tank, and only the last two are ever dumped. Gray water comes from your sinks and shower, black water comes from the toilet, and the fresh tank feeds your faucets. Knowing which is which keeps you from opening the wrong valve at the wrong time.
| Tank | What it holds | What to do |
|---|---|---|
| Fresh | Clean drinking water | Fill it; never dump |
| Gray | Sink and shower water | Dump at a dump station |
| Black | Toilet waste | Dump at a dump station |
When to Dump
Wait until your tanks are about three-quarters full, according to Camping World, because the liquid helps push solids out when you open the valve. Check the monitor panel in your RV before you head to the dump station.
If you camp without hookups, tank size decides how many days you can stay. Our boondocking guide shows how to plan your water use around it.
What You Need
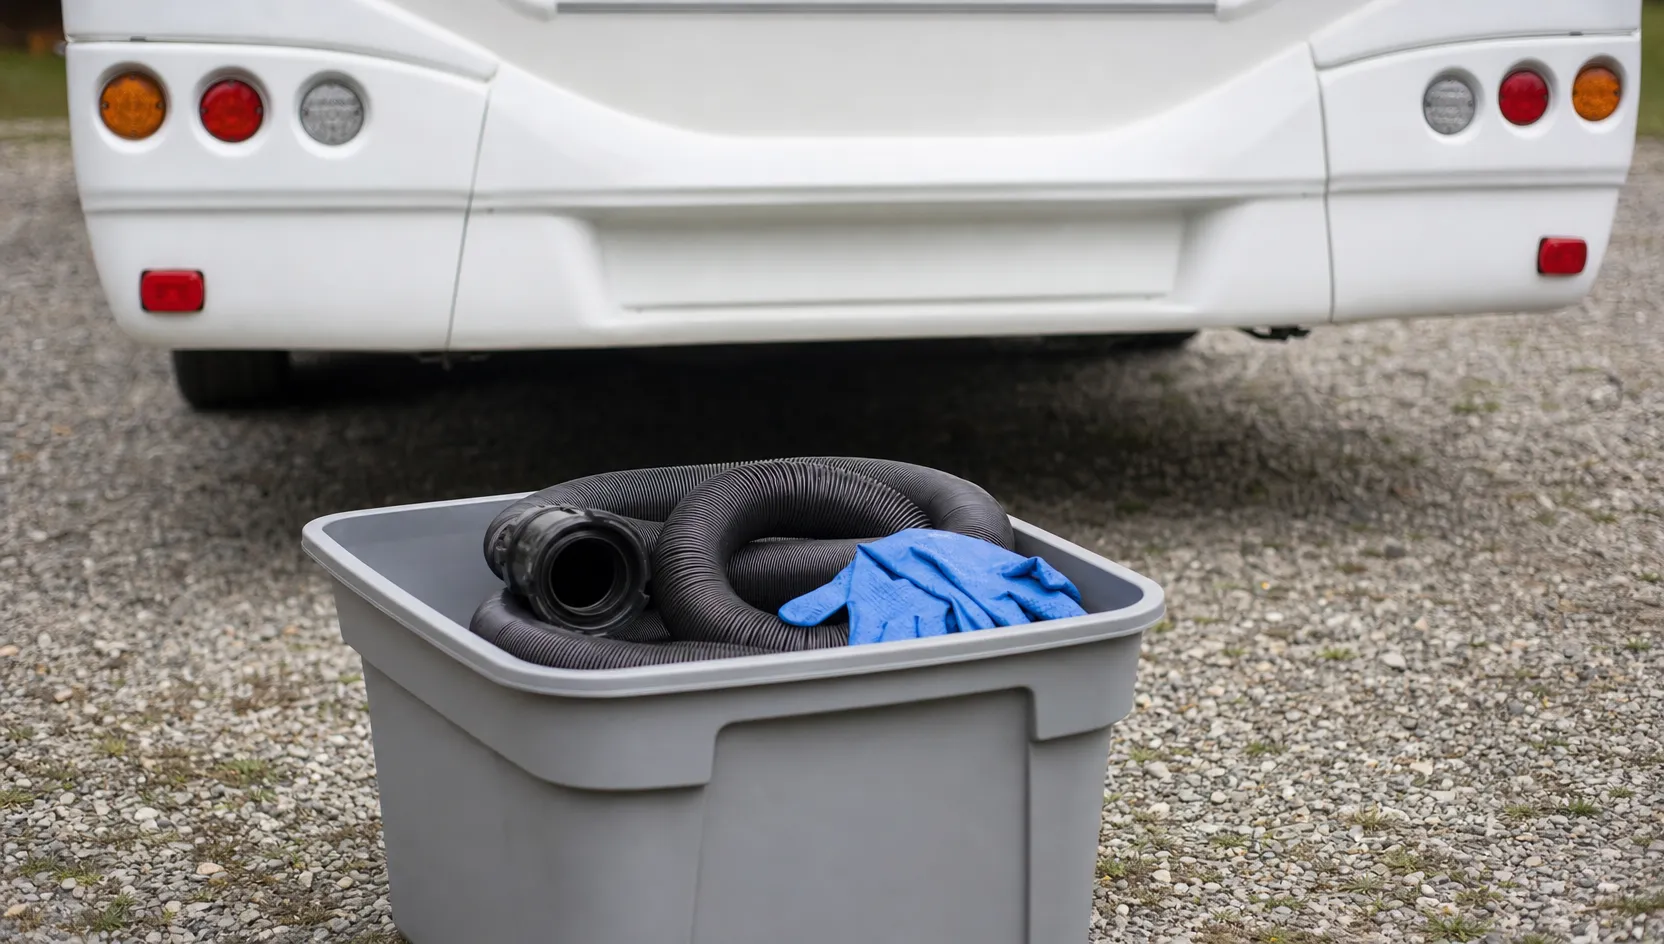
Gloves. Wear disposable or heavy-duty rubber gloves for every dump, and bring a trash bag so you can take used ones with you.
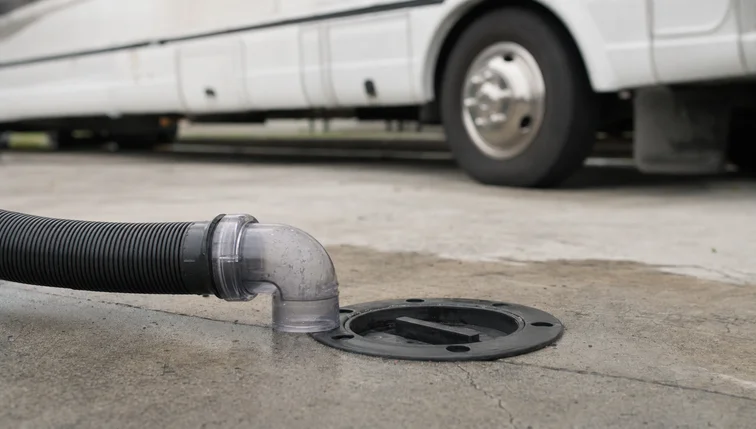
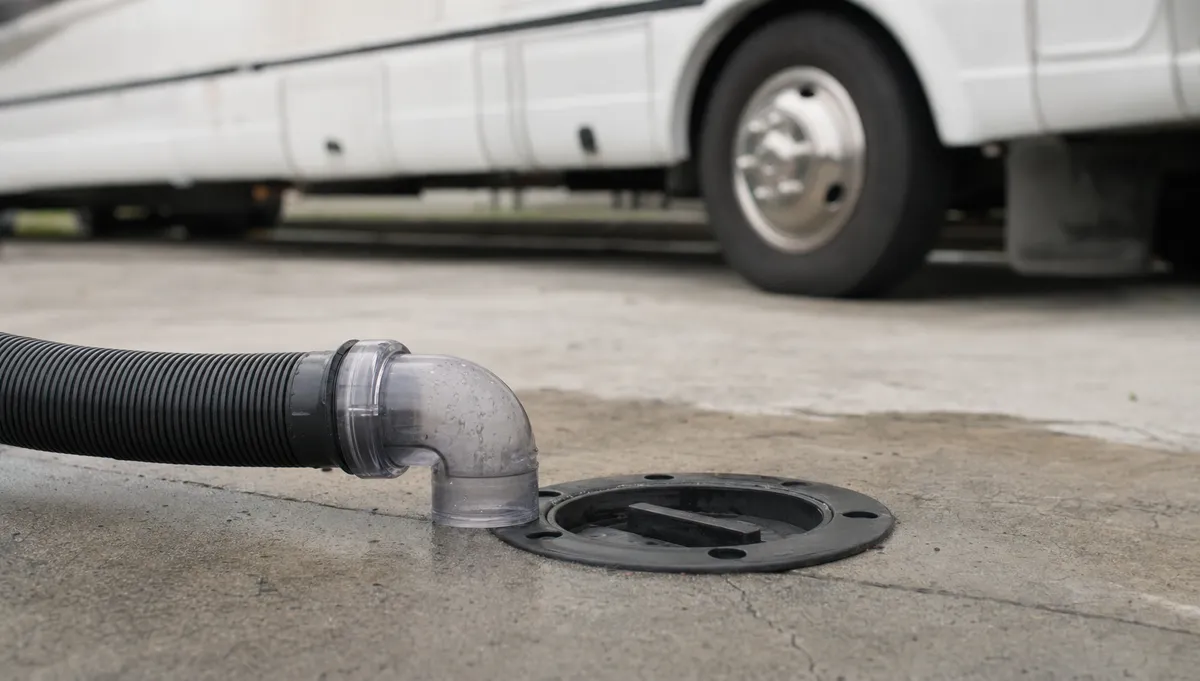
A sewer hose. Choose one with a 90-degree connector and a bayonet fitting that matches your outlet. A clear connector lets you see when the water runs clean.
A hose support. Camping World suggests one for multi-day stays, and a heavy rock on the hose end keeps it from popping out of the dump inlet.
A separate rinse hose. Use a dedicated hose for rinsing and flushing, ideally color-coded, and never your drinking-water hose.
A storage bin. Keep everything together in one bin, away from your food and your drinking-water hose, so you can grab it on every trip.
Before You Open a Valve
Run through this list before you open a valve. It takes about a minute and catches the mistakes that cause most spills, so it is worth doing every time.
- Your tanks are about three-quarters full.
- Gloves are on, and you have a bag for them.
- Both valves are closed before you remove the outlet cap.
- The hose has no cracks and is attached at both ends.
- Your rinse hose is separate from your drinking-water hose.
- Soap and a place to wash your hands are within reach.
Step 1: Park, Glove Up, and Connect
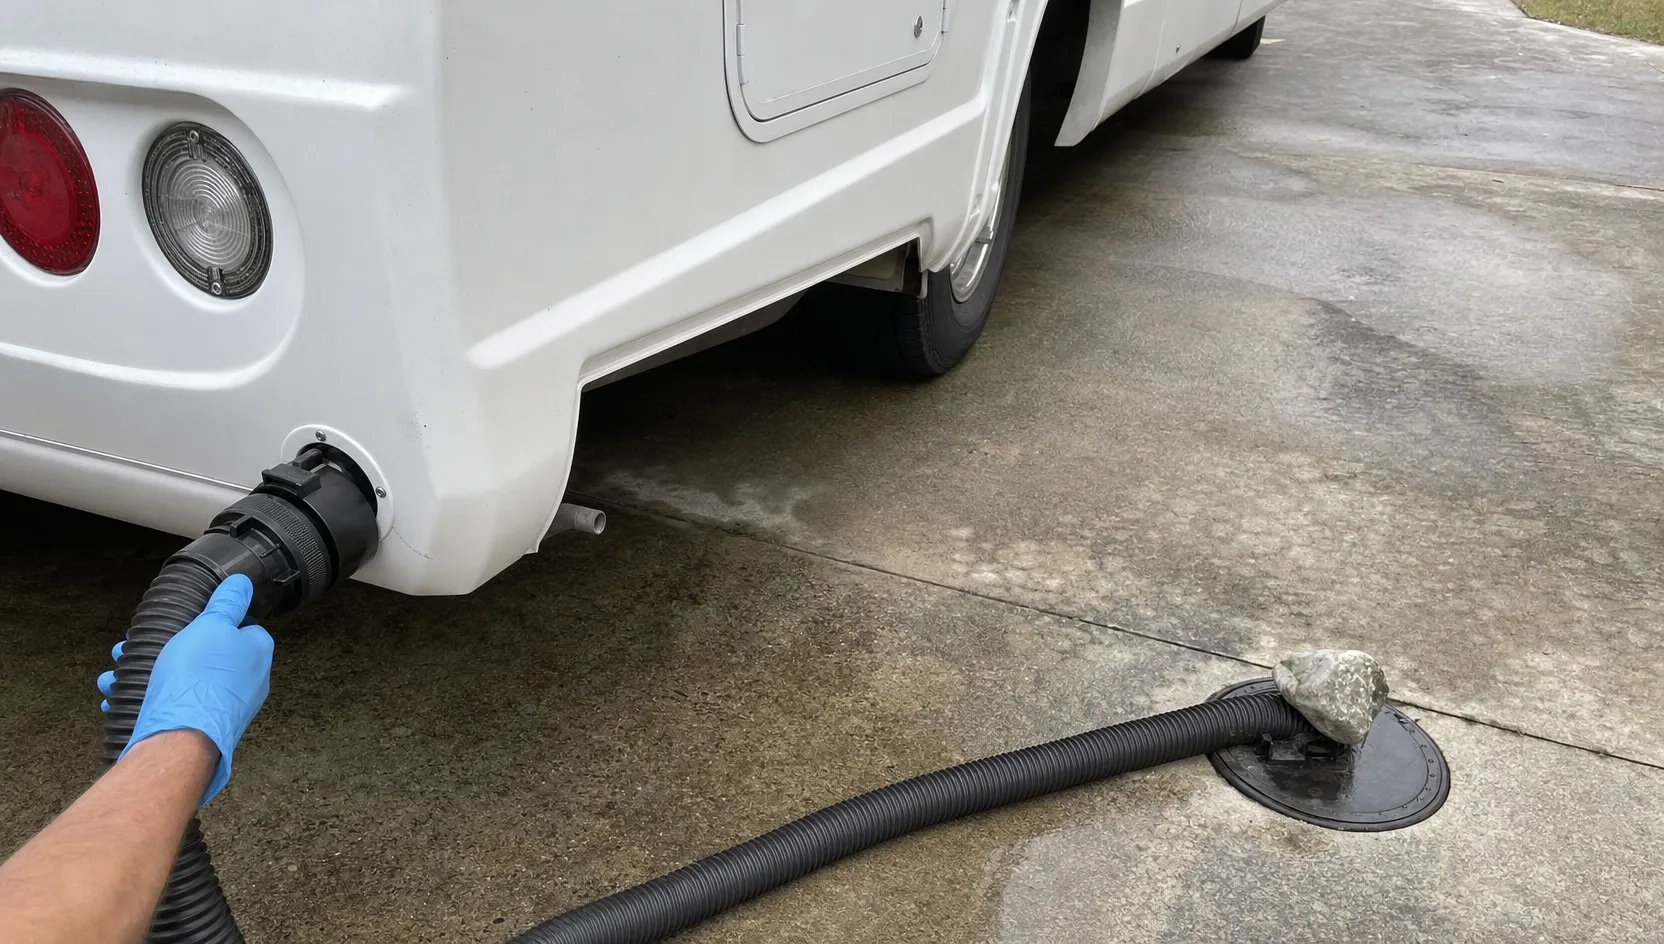
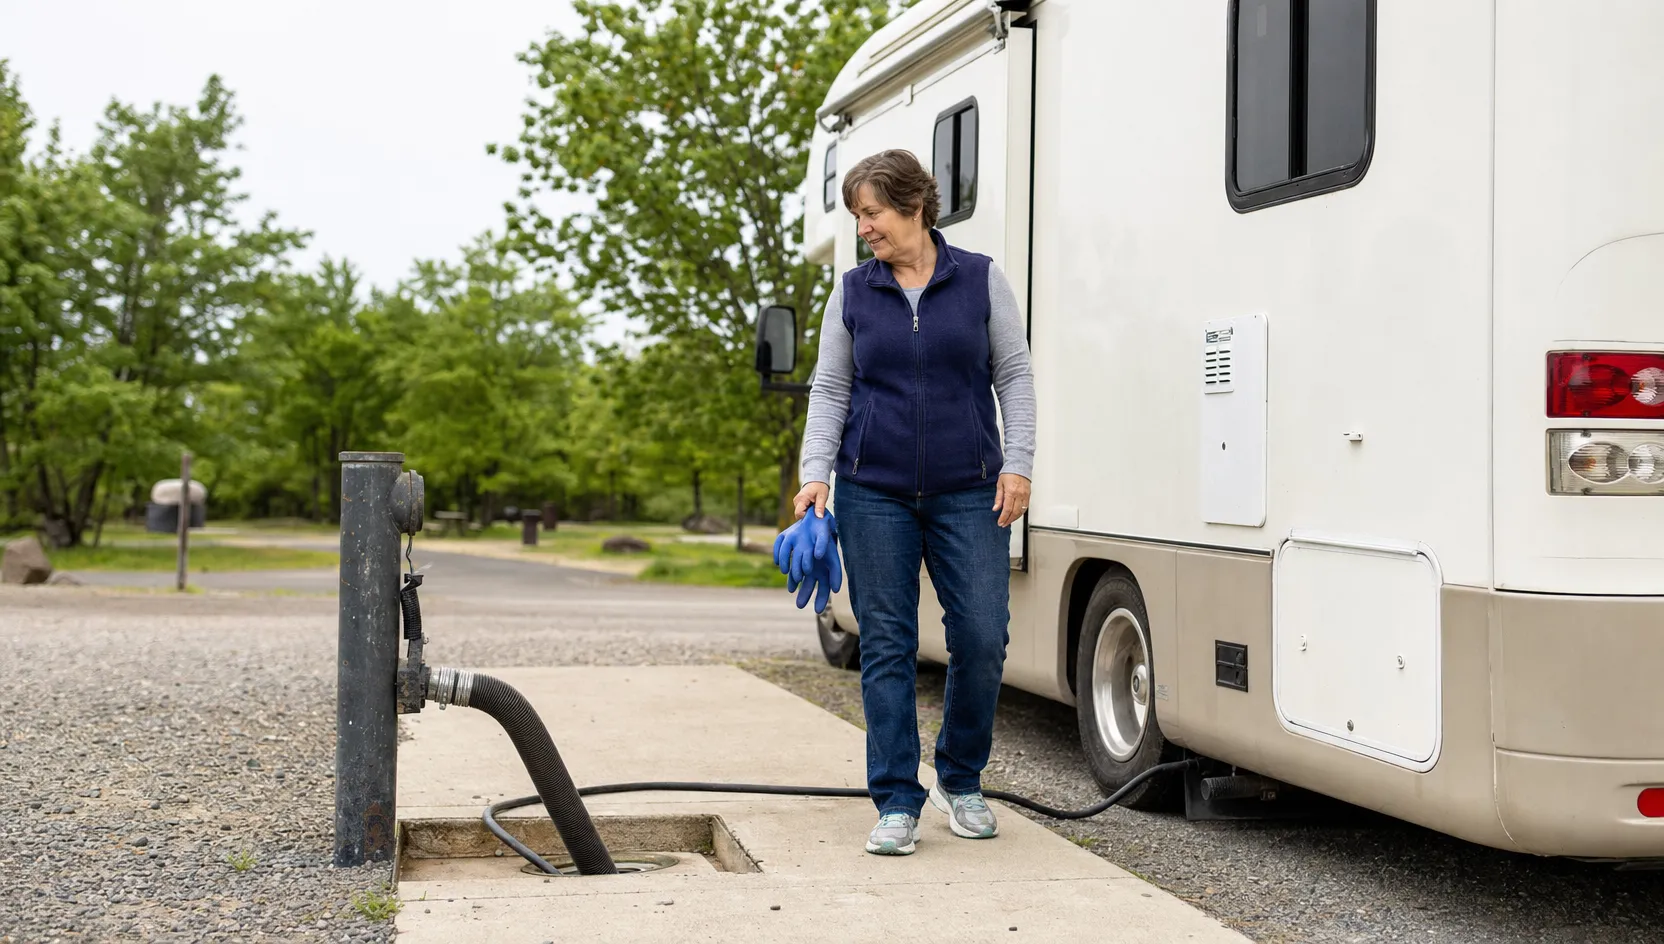
Park so your RV’s outlet sits close to the dump inlet, then put your gloves on. With both valves closed, remove the outlet cap, attach the hose, and set the other end in the inlet with a rock on top. Check every connection before you continue.
Step 2: Empty the Black Tank
Open the black valve slowly, pause to check for leaks, and stay nearby while it drains. Wait until the flow stops, then close the valve. Always go black first, because the gray water that follows rinses the hose clean, so the order matters.
Step 3: Empty the Gray Tank
Now open the gray valve the same way. The soapy water rinses leftover waste out of the hose, and a clear elbow fitting shows you when the flow stops. Close the valve once the water runs clear, then check that both valves are shut.
Step 4: Rinse and Put Away
Lift the hose, starting at the end by your RV, so the last of the water runs toward the inlet. Disconnect it, put the cap back on your outlet, and rinse the hose with the station’s rinse hose. Bag your gloves, wash your hands, and store the hose in its own bin.
Flush the Black Tank
If your RV has a flush inlet, connect a garden hose, open the black valve, and run water until the tank and hose run clear, as Camping World describes. Use a separate hose and flush at a full-hookup site, since flushing holds up the line at a busy station.
Optional: Tank Treatments
Camping World suggests a tank treatment every few weeks to cut odors and break down waste. Treatments work best when the black tank is at least three-quarters full. Storing your RV for winter? Our winterizing guide shows how to protect the plumbing.
Subscribe to
Our Newsletter
By joining, you agree to receive emails.
See our Privacy Policy.
Dump Station Etiquette
Arrive with everything ready, and read these steps at home instead of at the station. RV Travel lists the biggest mistakes: rinsing with a drinking-water hose or faucet, flushing the black tank while others wait, and leaving spills or trash behind. Clean up after yourself, and leave the station in better shape than you found it.
Don’t Leave the Black Valve Open
At a full-hookup site, it’s tempting to leave the black valve open. Thetford warns against it, because the liquid drains away fast and leaves a pyramid of solids under the toilet, which causes odors and clogs. Keep the black valve closed until the tank is about three-quarters full, then dump. Thetford says the gray valve is fine to leave open at a sewer hookup.
Where to Dump
If your campsite has a sewer hookup, you can dump right there, and our campsite setup guide shows how to connect. Otherwise, Camping World lists campgrounds and RV parks, travel centers, rest stops, and RV service centers as places to look. Stations usually charge about $5 to $20, and Good Sam members get free access at many, so ask first.
Save two options before you leave, in case one is closed. Many campers dump on checkout morning, as our first-time camping guide shows.
Your Next Step
Pick a quiet time of day for your first dump, so nobody is waiting and you can take your time. Wear gloves, follow the order, and keep your rinse hose separate. By your second trip, it will be just another stop. Ready for the bigger picture? Our beginner’s guide covers choosing an RV, costs, hookups, and more.