
Winterizing an RV protects your water lines, pump, and water heater from freeze damage, and you can finish the job in an afternoon with a few supplies. This guide covers when to start, what to buy, and the steps in order, plus the mistakes that cost owners the most. Your owner’s manual wins wherever it differs.
When to Winterize
Winterize before nighttime temperatures consistently drop to or below 32°F. Camping World says some technicians prefer 40°F as a safer trigger, and it warns that even a sustained freeze of an hour or less can crack components.
A stored RV has no heat to save it. If you’re done camping for the season, winterize as soon as you finish using it instead of waiting for the first cold snap.
What You Need
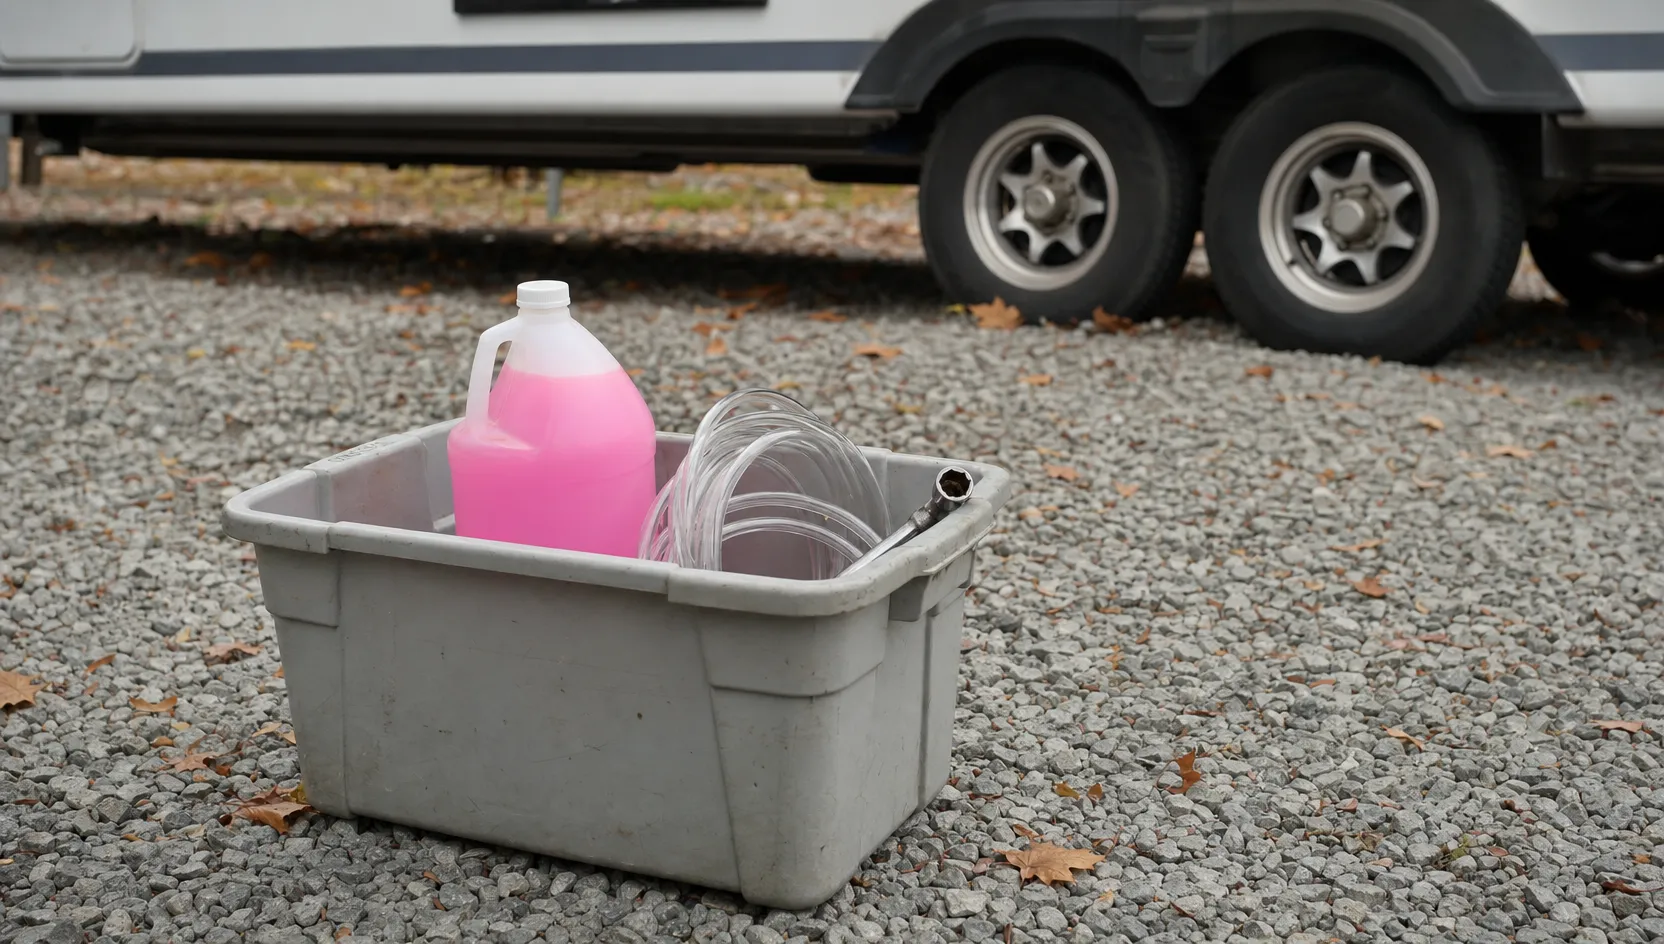
RV antifreeze. Most RVs need about 2 to 4 gallons, according to Camping World, so buy a little extra. Choose a propylene glycol product made for RV plumbing.
A water heater bypass. Many RVs have a built-in bypass valve. If yours doesn’t, you need a bypass kit so antifreeze skips the heater.
A socket wrench. It removes the water heater drain plug or anode rod. Check your owner’s manual for the socket size, and keep a spare plug or anode rod on hand.
A siphon hose or pump kit. It pulls antifreeze from the jug into your plumbing without pouring it into the fresh water tank.
An air compressor (optional). You only need it if you also blow out the lines, and it needs a regulator and a blow-out plug to do that safely.
Antifreeze or Compressed Air?
Most owners use antifreeze because it also protects drains, seals, and traps. Camping World does not recommend air alone as a stand-alone method, and even after blowing out the lines you still pour antifreeze down the drains.
| Method | What you need | Good to know |
|---|---|---|
| Antifreeze | Jug and pump or siphon kit | Most popular; protects drains |
| Compressed air | Compressor and blow-out plug | Drains still need antifreeze |
| Both together | All of the above | Extra protection, more work |
If you use air, keep the pressure at about 30 to 40 PSI and never go above 50. Tiffin gives 50 PSI as the maximum, and too much pressure can damage lines and fixtures. The steps below use the antifreeze method, which most owners prefer.
Step 1: Drain and Bypass the Water Heater
Turn the water heater off, both electric and propane, and let it cool completely. Never drain it while it’s hot or under pressure. Then open the pressure relief valve, remove the drain plug or anode rod, and let the tank empty.
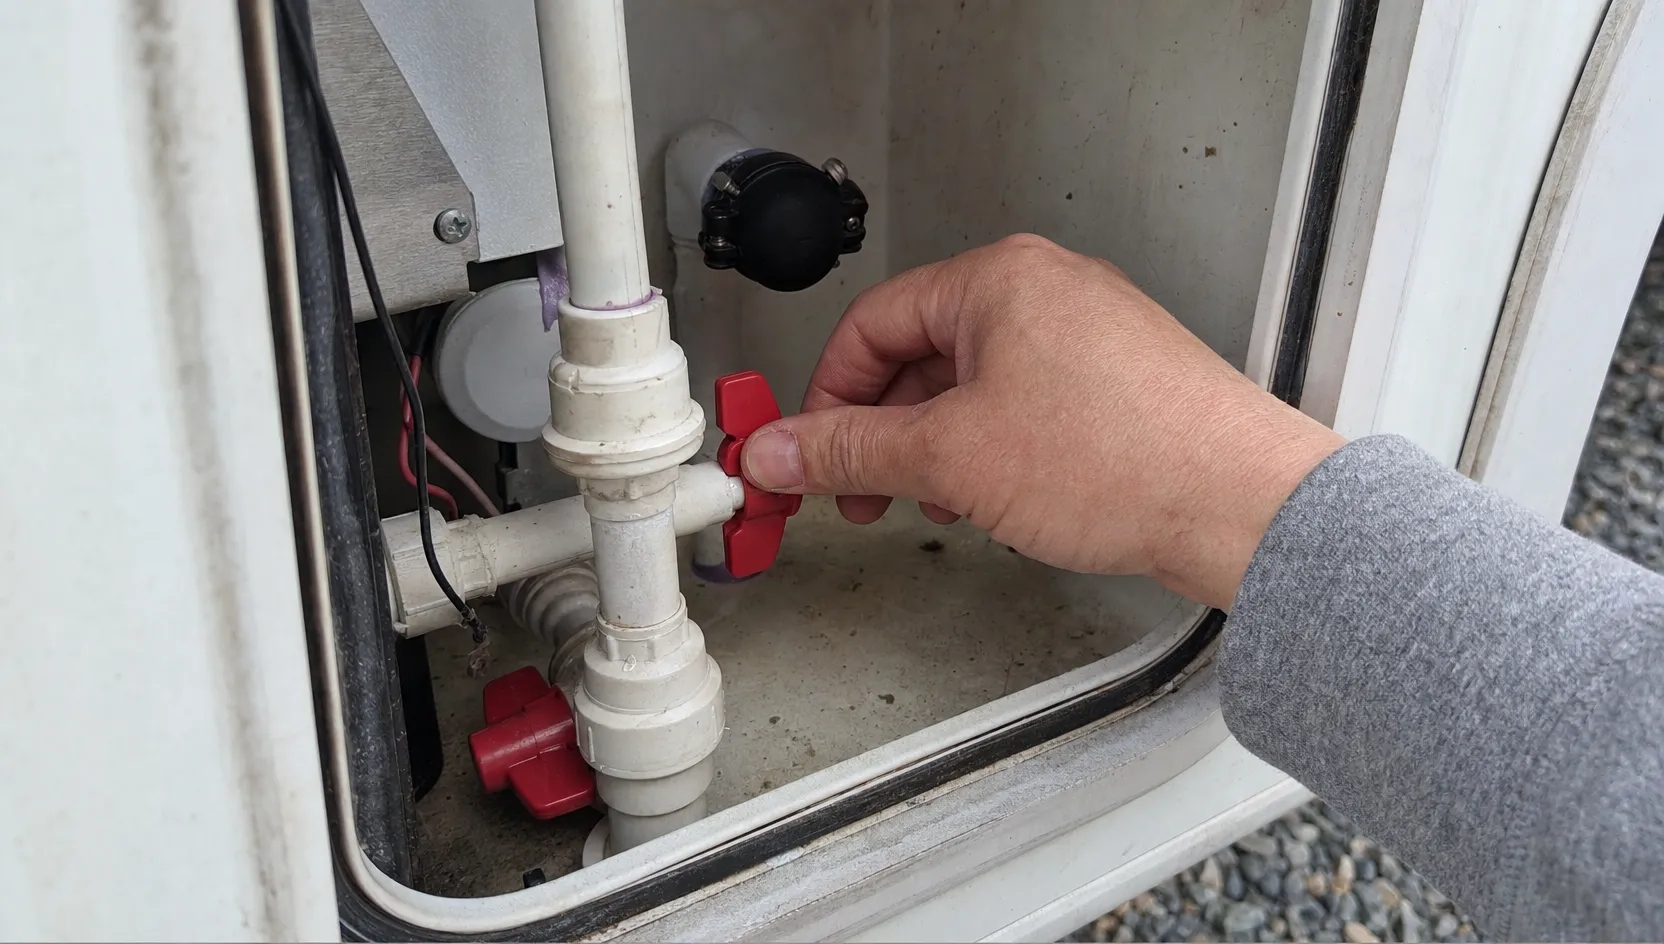
Next, set the bypass valves so water skips the heater. The heater doesn’t need antifreeze, and the bypass keeps it from filling up with it, which also saves you antifreeze.
Step 2: Drain the Water Lines and Tanks
Disconnect city water and remove any inline water filters. Open every faucet, hot and cold, plus the shower and outdoor shower, then open the low-point drains and empty the fresh water tank. Run the pump briefly with the faucets open until the water stops flowing.
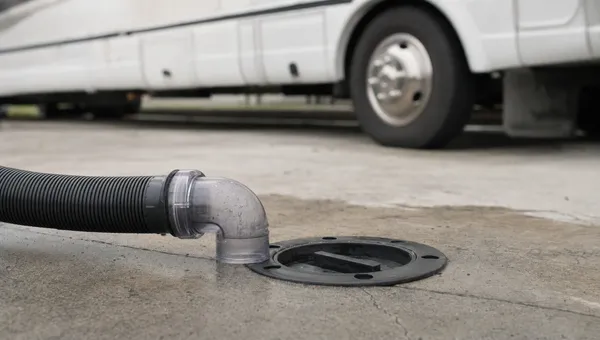
Empty your black and gray tanks at a dump station too. Our guide to emptying RV tanks shows the right order and how to rinse the hose.
Step 3: Pump In the Antifreeze
Close the drains and faucets, then switch your pump’s intake to the antifreeze jug with a siphon kit. Never pour antifreeze into your fresh water tank, because it takes a lot of antifreeze to fill and is hard to flush out later.
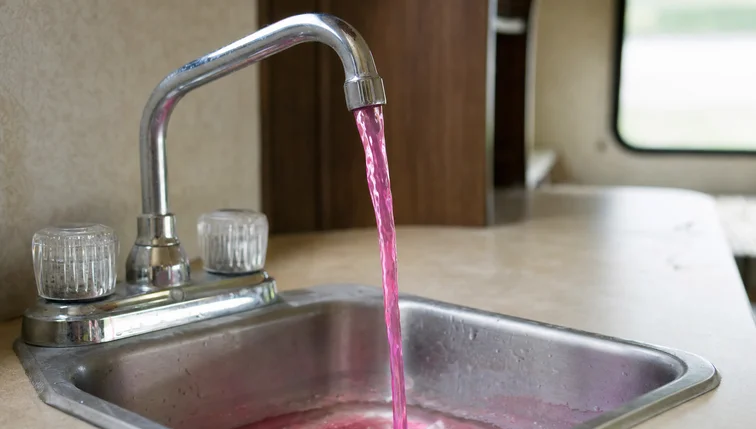
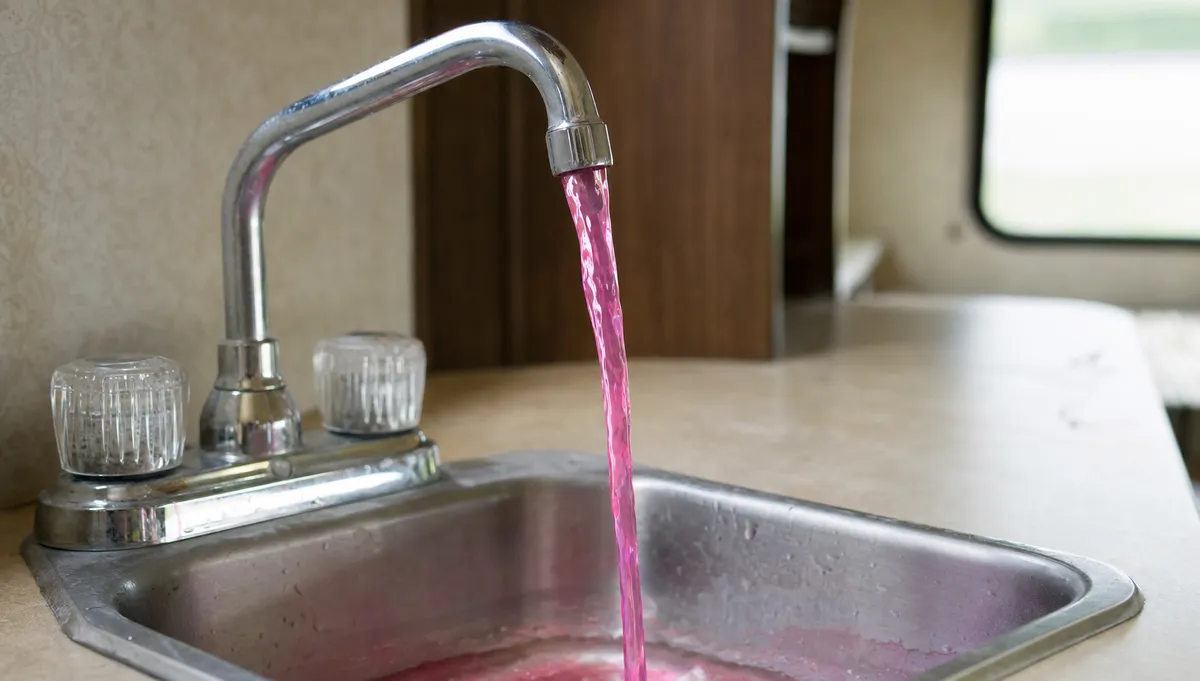
Turn the pump on and start with the faucet closest to it. Open the hot and cold sides until pink liquid runs out steadily, then close it. Repeat at every faucet, the shower, the outdoor shower, and the toilet, and don’t forget the ice maker or washer line if you have one.
Step 4: Protect the Drains and Close Up
Pour 1 to 2 cups of antifreeze down each sink and shower drain. This fills the P-traps, the curved pipes that hold water and can freeze and crack. Add some antifreeze down the toilet so it reaches the black tank, and leave a little in the bowl.
Turn the pump off, close all faucets, and put the drain caps and plugs back. Before you walk away, confirm the heater is drained and bypassed, pink antifreeze ran from every faucet, the shower, and the toilet, and every drain has antifreeze. After this, don’t use the sinks, shower, or toilet until spring, and keep the owner’s manual handy.
Common Winterizing Mistakes
These are the ones that cost people the most. Most come from rushing, so take the steps one at a time and check each one off before you move on.
- Using car antifreeze. It is toxic, so use only RV antifreeze.
- Filling the fresh tank with antifreeze, which dilutes the mix.
- Skipping the bypass, which fills the heater with antifreeze.
- Forgetting the outdoor shower, ice maker line, and filters.
- Using too much air pressure, which can burst lines.

Subscribe to
Our Newsletter
By joining, you agree to receive emails.
See our Privacy Policy.
Don’t Stop at the Plumbing
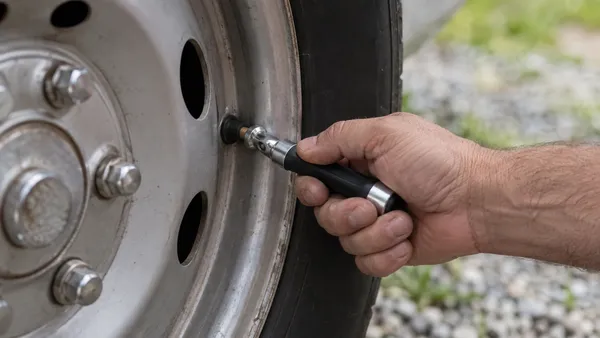
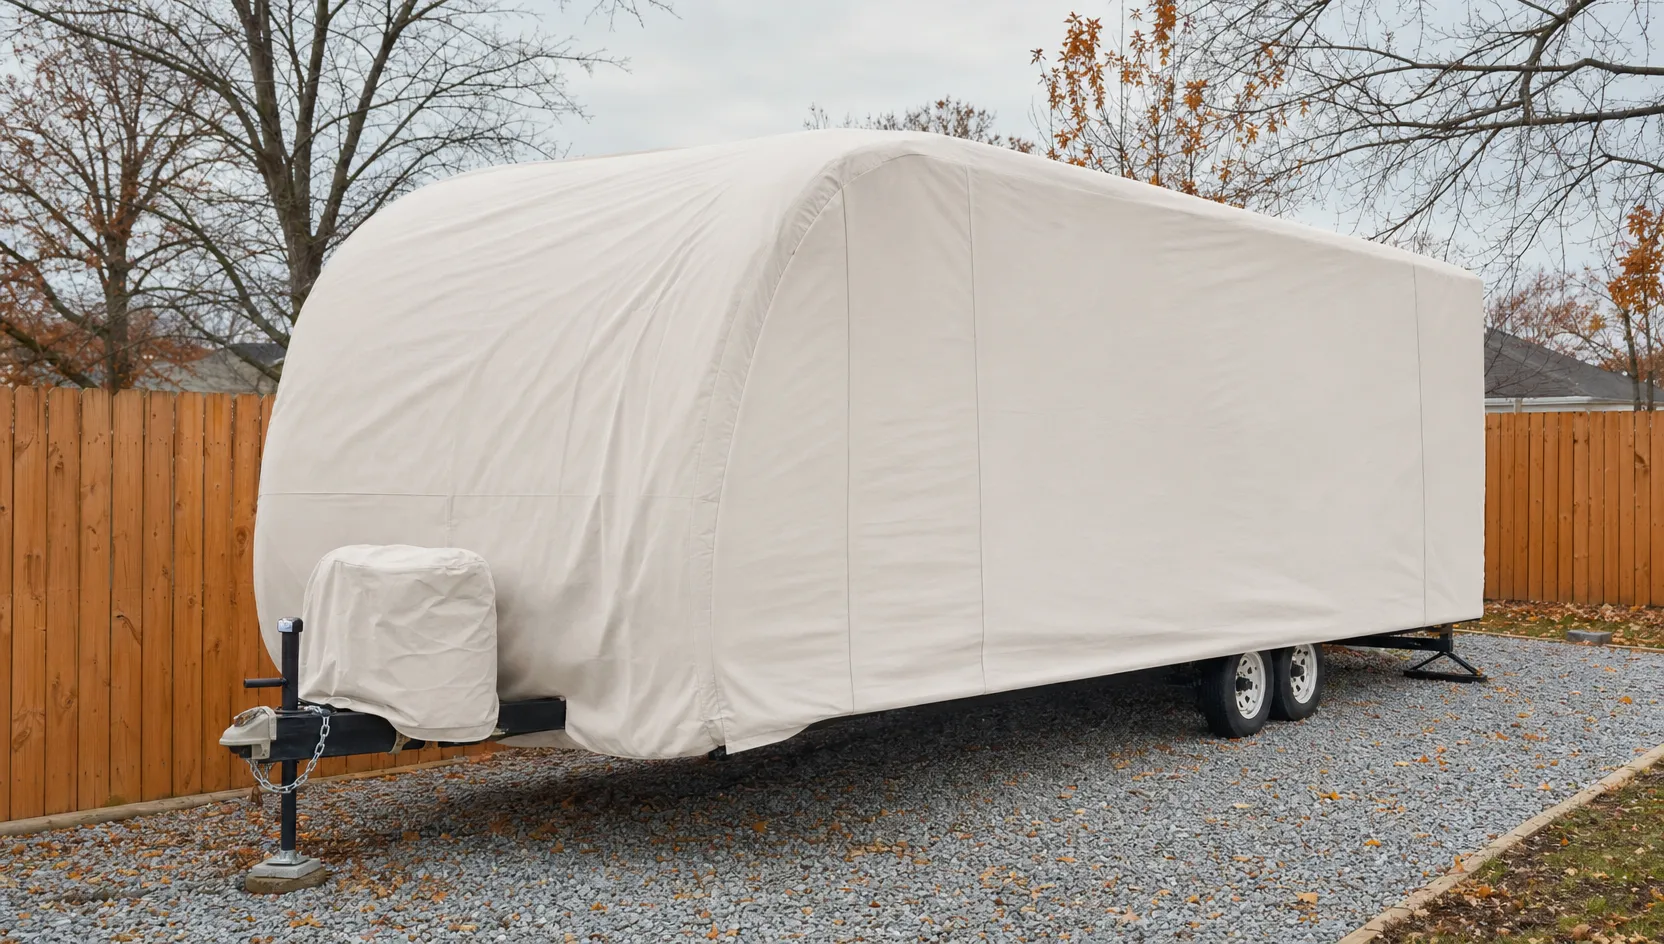
Winter hurts more than pipes. Look for gaps where mice can get in, check your tire pressure before storage, and inspect the roof seals. Check your owner’s manual for how to store the batteries, and cover the RV if it sits outside.
Getting Ready in Spring
Wait until the last hard freeze has passed and overnight lows stay above 32°F. Then set the bypass back to normal, run fresh water through every faucet until the pink is gone, and sanitize the water system. Check for leaks before you head out, and see our campsite setup guide for your first hookup of the season.
Your Next Step
Winterizing sounds like a big job, but it comes down to four short steps done in the right order. Do it before the first hard freeze, and your RV will be ready when camping season returns. Not sure about your RV’s quirks? Your owner’s manual is the final word. For the other yearly costs of owning one, see our ownership costs guide.