
Setting up an RV at a campsite feels like a lot the first time, but it follows the same order on every trip: park, level, secure, connect, and open up. This guide walks you through each step so you always know what comes next. Do the steps in order, because each one makes the next one safer, and let your owner’s manual win wherever it differs.
Walk the Site Before You Pull In
Park somewhere safe and walk your site on foot before you pull in. Backing into a spot you haven’t checked is a classic beginner mistake. Look up for low branches where your roof, slides, and awning will sit, and look down for rocks, stumps, and soft ground.
Find the power pedestal, water spigot, and sewer inlet, and make sure your cord and hoses can reach them from where you will park. A pull-through site lets you drive in and out without backing up, which makes it the easiest choice for a first trip. On a back-in site, go slowly and use a spotter, and our driving guide shows the hand signals.
Keep Your Setup Gear Together
Leveling blocks and chocks. Blocks raise a low side of your RV, and wheel chocks stop a tire from rolling once you are parked.
A surge protector. It guards your RV against power surges, miswired pedestals, and low voltage, and many models have a light that warns of a wiring fault.
A water pressure regulator. It screws onto the spigot and protects your plumbing from the high pressure some campgrounds deliver.
Two sets of hoses. You need a drinking-water hose and a sewer hose, and the two must always stay separate, so mark them or store them apart.
Jack pads and work gloves. Pads or 2x4 blocks go under the stabilizer jacks on soft or uneven ground, and gloves keep your hands clean during hookup.
One bin. Store everything together near the door, so you aren’t digging through storage bays at dusk when you are tired and the light is fading.
Step 1: Park Within Reach of Your Hookups
Pull in so your power cord, water hose, and sewer hose can all reach without stretching. Your connections sit on a specific side of the RV, so check which side faces the pedestal and spigot before you stop. Stop close to your final spot, because you will probably shift a few inches once the leveling blocks are in place.
Step 2: Level Side to Side
Check your RV with a bubble level, either one built into the RV or a small one you place on the floor. If one side sits low, put leveling blocks in front of those wheels and drive up slowly while a helper watches. Stop as soon as the bubble centers.
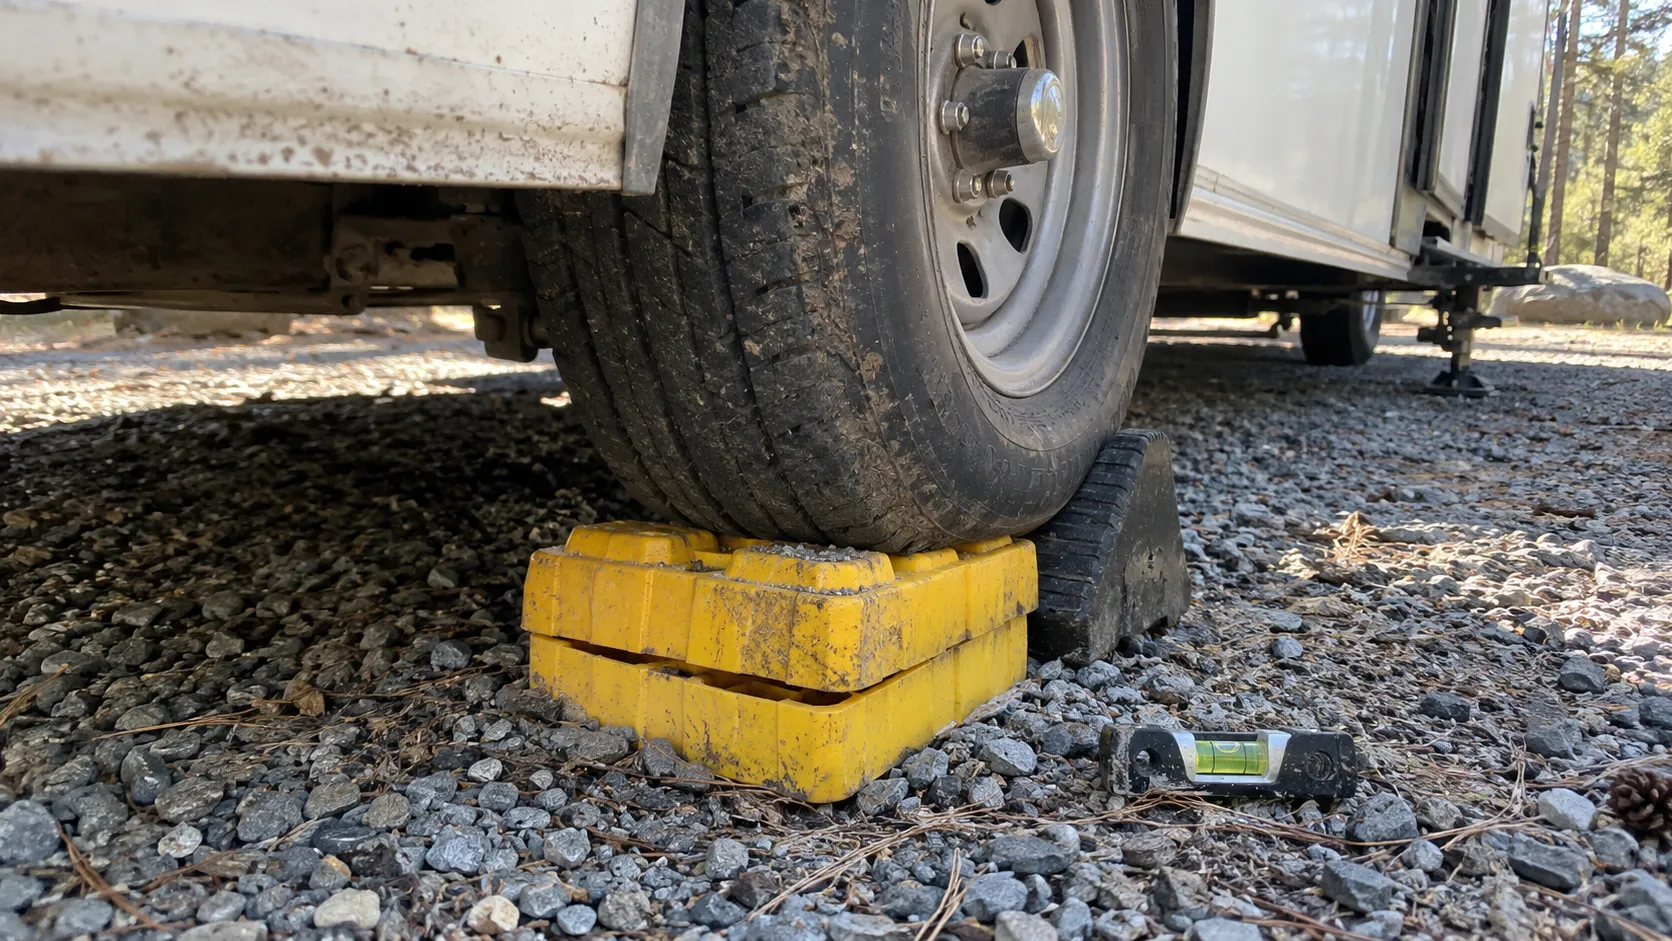
If the RV still sits badly tilted, don’t keep stacking blocks. Ask the staff for a flatter site, and stay within the limits in your owner’s manual.
Step 3: Chock the Wheels and Unhitch
Place chocks in front of and behind the tires, and set the parking brake on a motorhome. With a trailer, chock the wheels first, then lower the tongue jack until it takes the weight, disconnect the cables and safety chains, and pull your truck away. Use the tongue jack to level front to back, and follow your manual if you have leveling jacks.
Step 4: Lower the Stabilizers
Stabilizer jacks cut down on wobble when you walk around inside. Camping World says they are not meant for leveling, so level first and stabilize second. Put a pad or a 2x4 block under each jack, and recheck them after the first night, because the ground can settle.
Step 5: Connect the Power
Turn off your RV appliances and switch the pedestal breaker off, because RVshare says to flip it off before plugging in or unplugging. Plug the surge protector into the pedestal, plug your RV’s cord into the protector, and then switch the breaker back on. If the protector shows a fault, tell the campground staff right away.
Match your cord to the outlet. An adapter can bridge a mismatch, but your power is capped at the lower rating, so a 50-amp RV on a 30-amp outlet gets about 3,600 watts.
| Type | Plug and typical rigs | Power |
|---|---|---|
| 30 amp | 3 prongs, smaller rigs | About 3,600 W |
| 50 amp | 4 prongs, large rigs | Up to 12,000 W |
Step 6: Connect the Water
Run the spigot for a few seconds to flush out sediment. Then screw a pressure regulator onto the spigot before you attach your drinking-water hose. Campground pressure varies, and RV Travel notes that older plumbing can’t handle much more than 40 psi, while newer fittings handle about 60. If you are unsure, set the regulator to about 40 psi.
Step 7: Connect the Sewer
Place the downstream end of the sewer hose in the campground inlet first, then attach the other end to your RV’s outlet and make sure both ends sit tightly. Use a hose support so the hose slopes gently downhill, without sagging low spots. Keep the tank valves closed until it’s time to dump, and our guide to emptying RV tanks shows each step.
Subscribe to
Our Newsletter
By joining, you agree to receive emails.
See our Privacy Policy.
Step 8: Extend the Slides and Awning
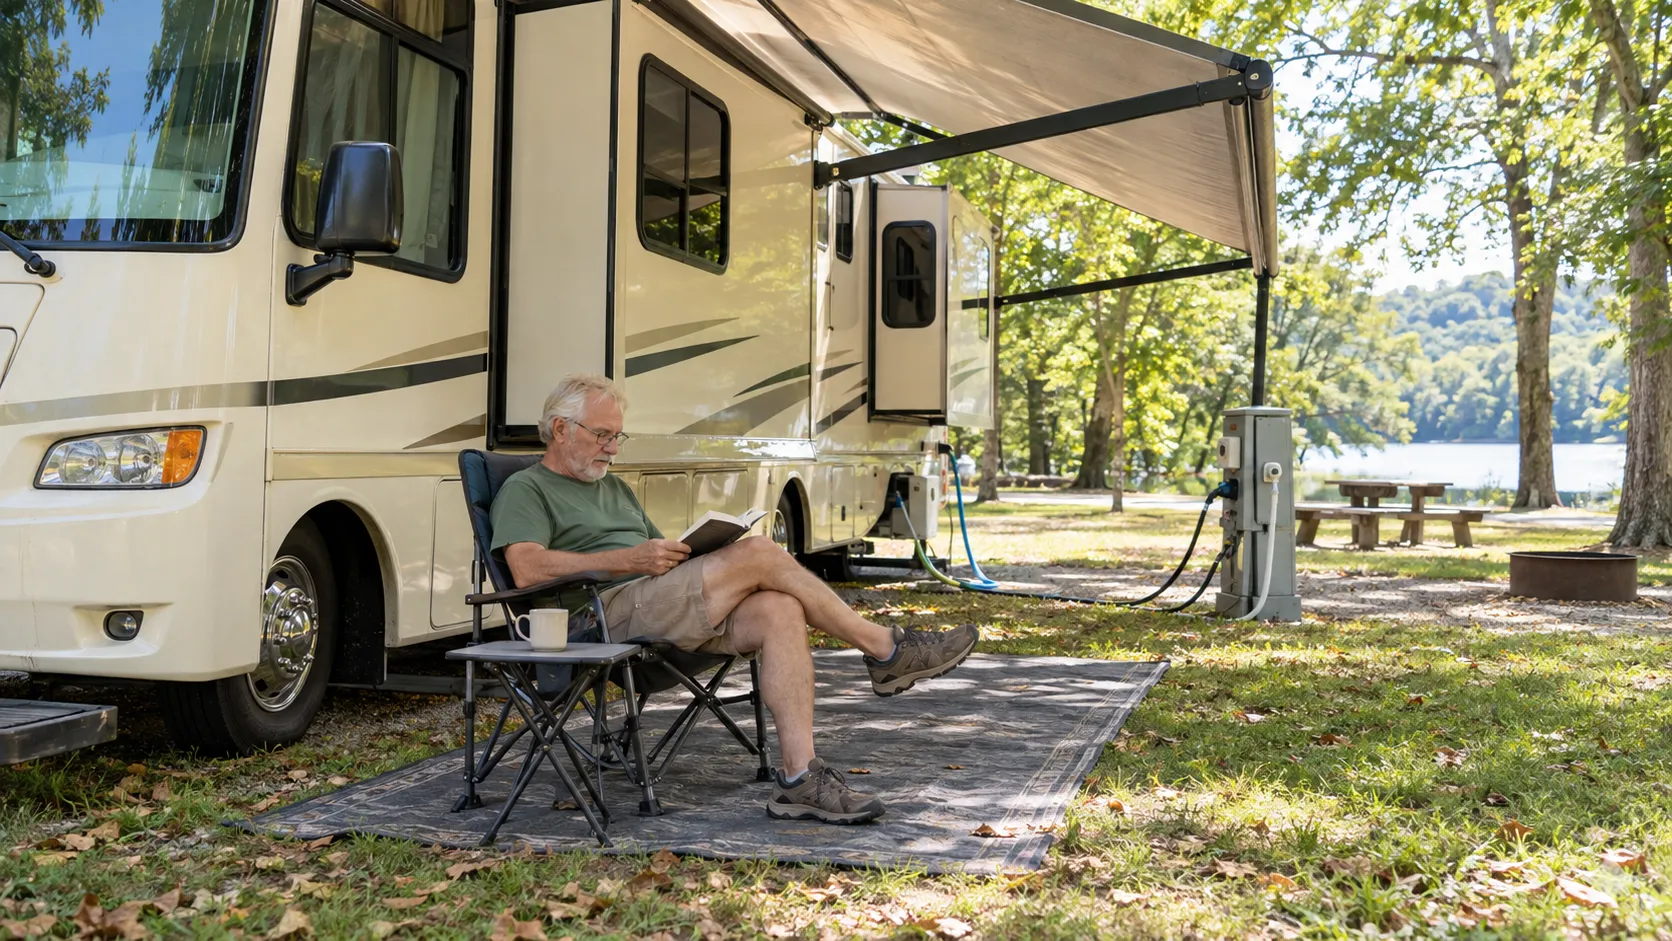
Now that your RV is level and connected, remove the slide locks and open the slides. Look up and around first for branches, posts, and picnic tables. Then roll out the awning if the weather is calm, and roll it in when gusts pick up and before you leave the site.
Step 9: Switch On Your Systems
Turn on the fridge, then open the propane and set the regulator as your manual describes. Before you switch on the water heater, make sure the tank is full. Camping World suggests lifting the pressure relief valve handle, and if no water comes out, leave the heater off.
Then open hot and cold at each fixture to bleed air from the lines. Test the lights and the toilet, and look under the sink for leaks. A drip is far easier to fix now, while you are still hooked up and unpacked, than at midnight.
Set Up Your Outdoor Space
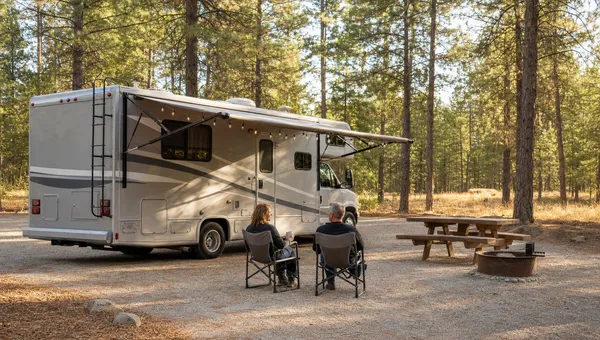
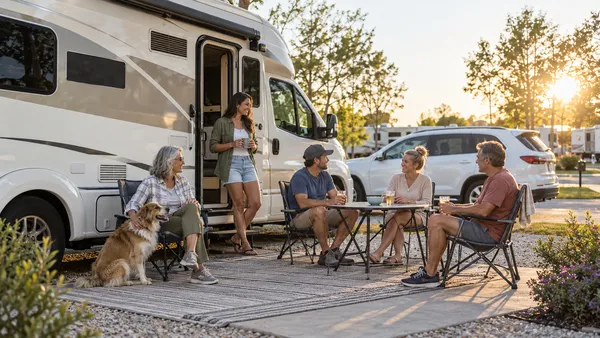
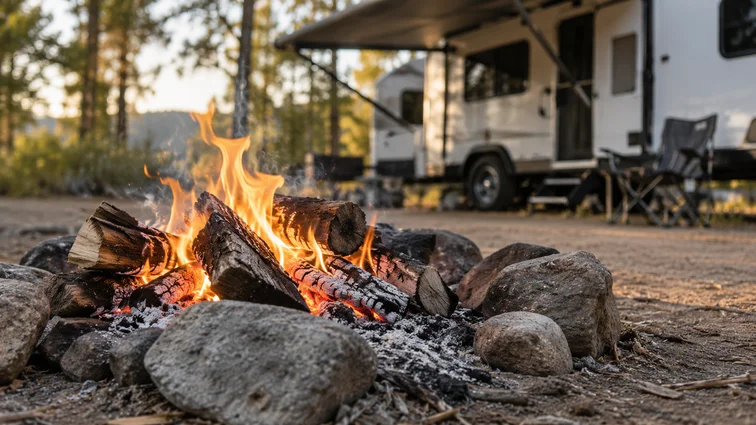
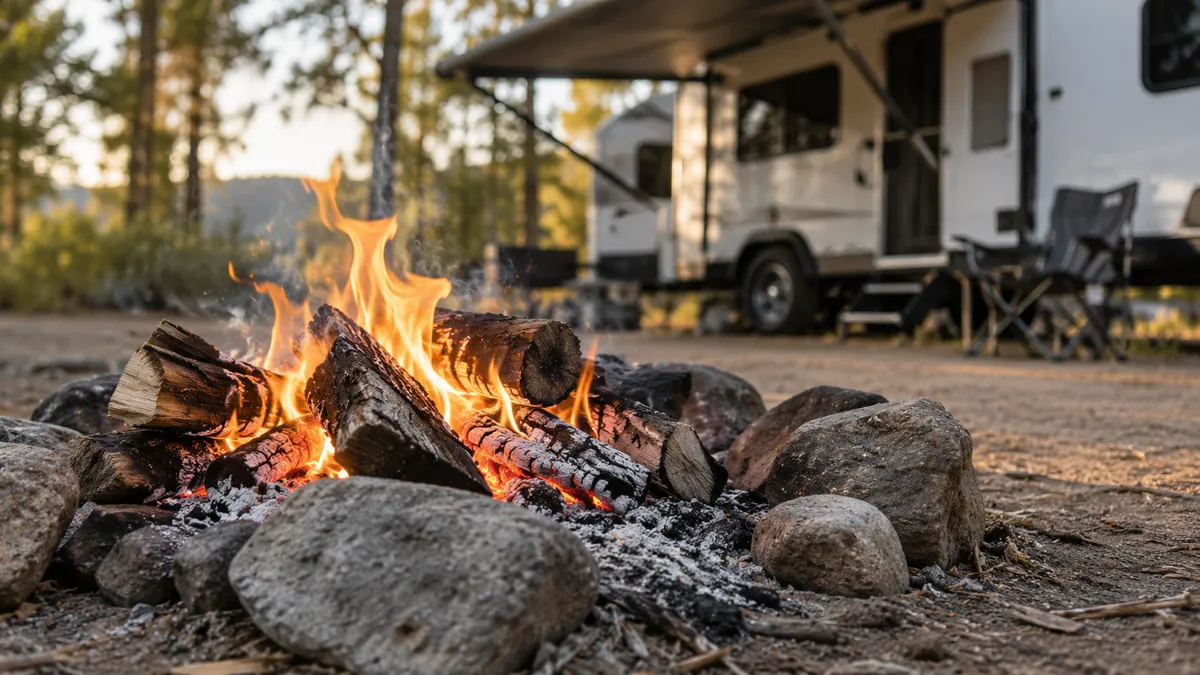
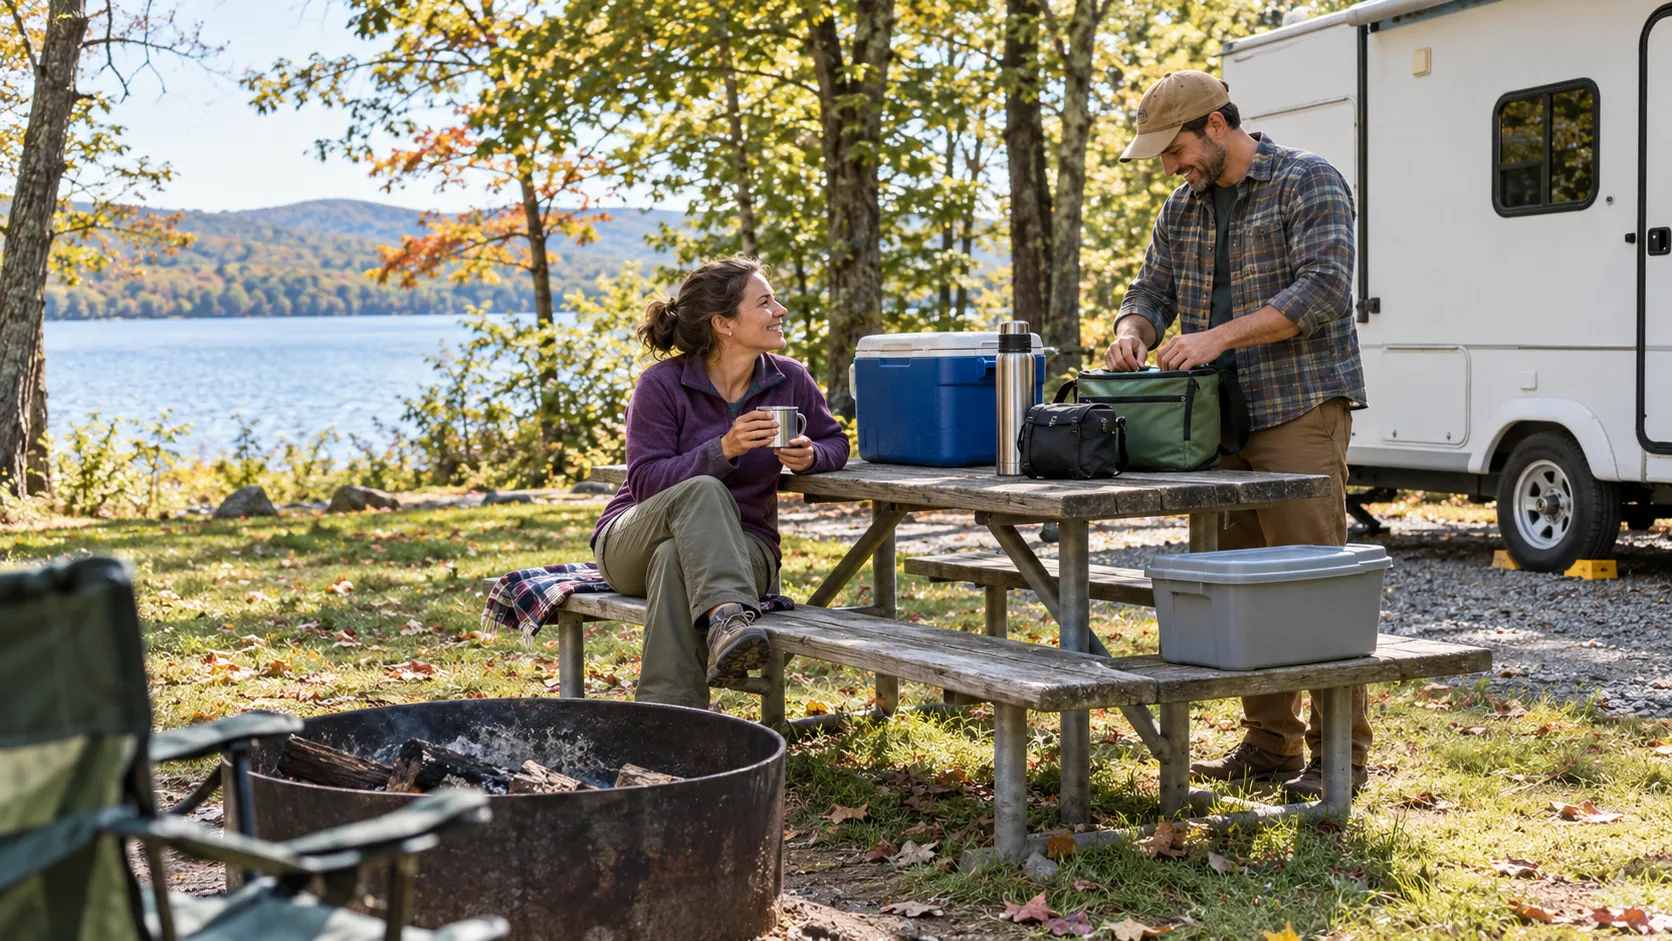
Roll out a mat and set up your chairs. Keep cords and hoses out of the walkways so nobody trips on them. Before you light a fire, ask the staff about local restrictions. Our first time RV camping tips cover quiet hours and campfire basics.
Packing Up Is the Same in Reverse
When you leave, work backward. Roll in the awning and slides, dump the tanks while the hose is still connected, then stow the hoses and cord. Pull the chocks and blocks last, and run through your pre-drive check before you roll out.
Common Campsite Setup Mistakes
Most setup problems come from skipping a step or doing the steps out of order. Watch for these six mistakes, and your first setup will go much smoother.
- Backing in without walking the site first.
- Extending the slides before the RV is level.
- Unhitching a trailer without chocking the wheels.
- Using the stabilizers to level instead of steady the RV.
- Plugging in without a surge protector.
- Skipping the water pressure regulator.
Your Next Step
Your first setup might feel slow, and that’s normal. Take your time, do the steps in order, and don’t worry if a neighbor finishes in half the time. When you’re ready for the bigger picture, our beginner’s guide covers choosing an RV, costs, hookups, and more.