
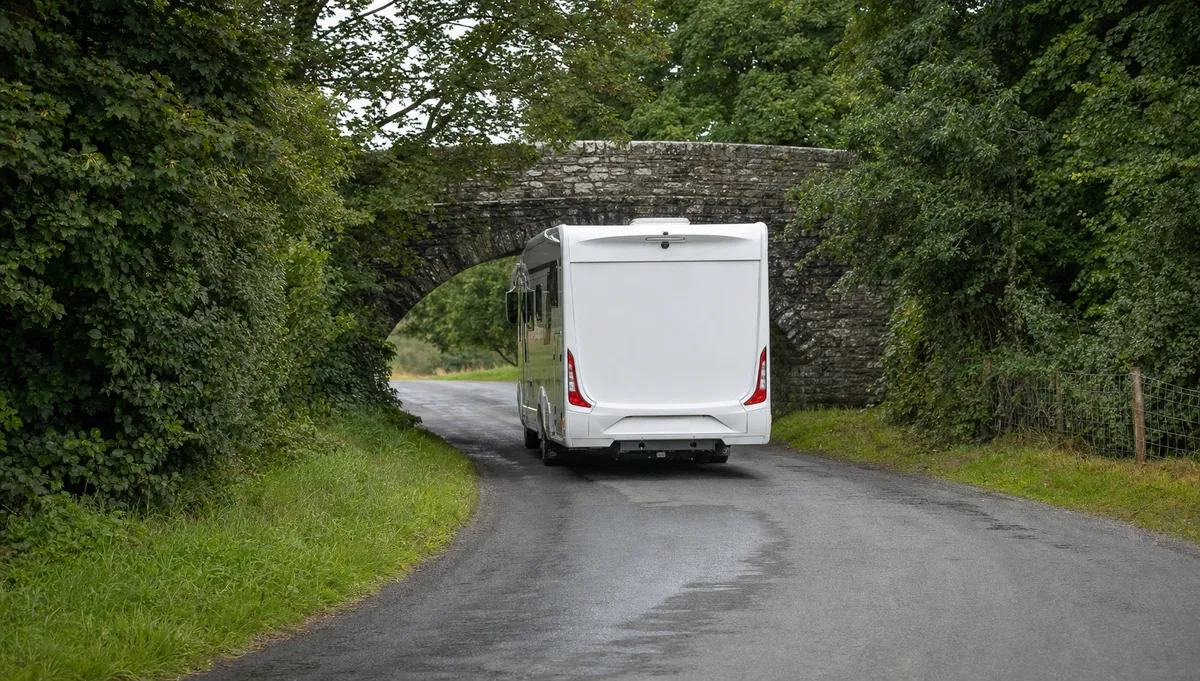
RV height clearance is the one number that keeps your roof off a low bridge, and it takes about ten minutes with a tape measure to find. Hitting a low bridge is one of the costliest mistakes an RVer can make, and one of the easiest to avoid. This guide shows how to measure your rig, read clearance signs, and plan a route that keeps you under every bridge.
Don’t Trust the Brochure Number
Your owner’s manual lists a height, but it may leave out what’s on your roof. Cruise America notes that air conditioners are generally not included in the manufacturer’s stated height. RecNation Storage says a roof A/C combined with a satellite dome can add 6 to 18 inches, and antennas, vents, and solar panels add more.
Typical RV Heights at a Glance
Heights vary a lot by type. Use these ballparks to see where you stand, then measure your own rig, because sources differ and your RV may be taller.
| RV type | Typical height | Watch for |
|---|---|---|
| Class A | 12 to 14 ft | Roof A/C and satellite dish |
| Class C | 10 to 12 ft | Roof A/C and vents |
| Class B | 7 to 10 ft | Solar panels and roof boxes |
| Travel trailer | 8 to 11 ft | Roof A/C and antennas |
| Fifth wheel | 11 to 13.5 ft | Roof A/C and front cap |
How to Measure Your RV Height
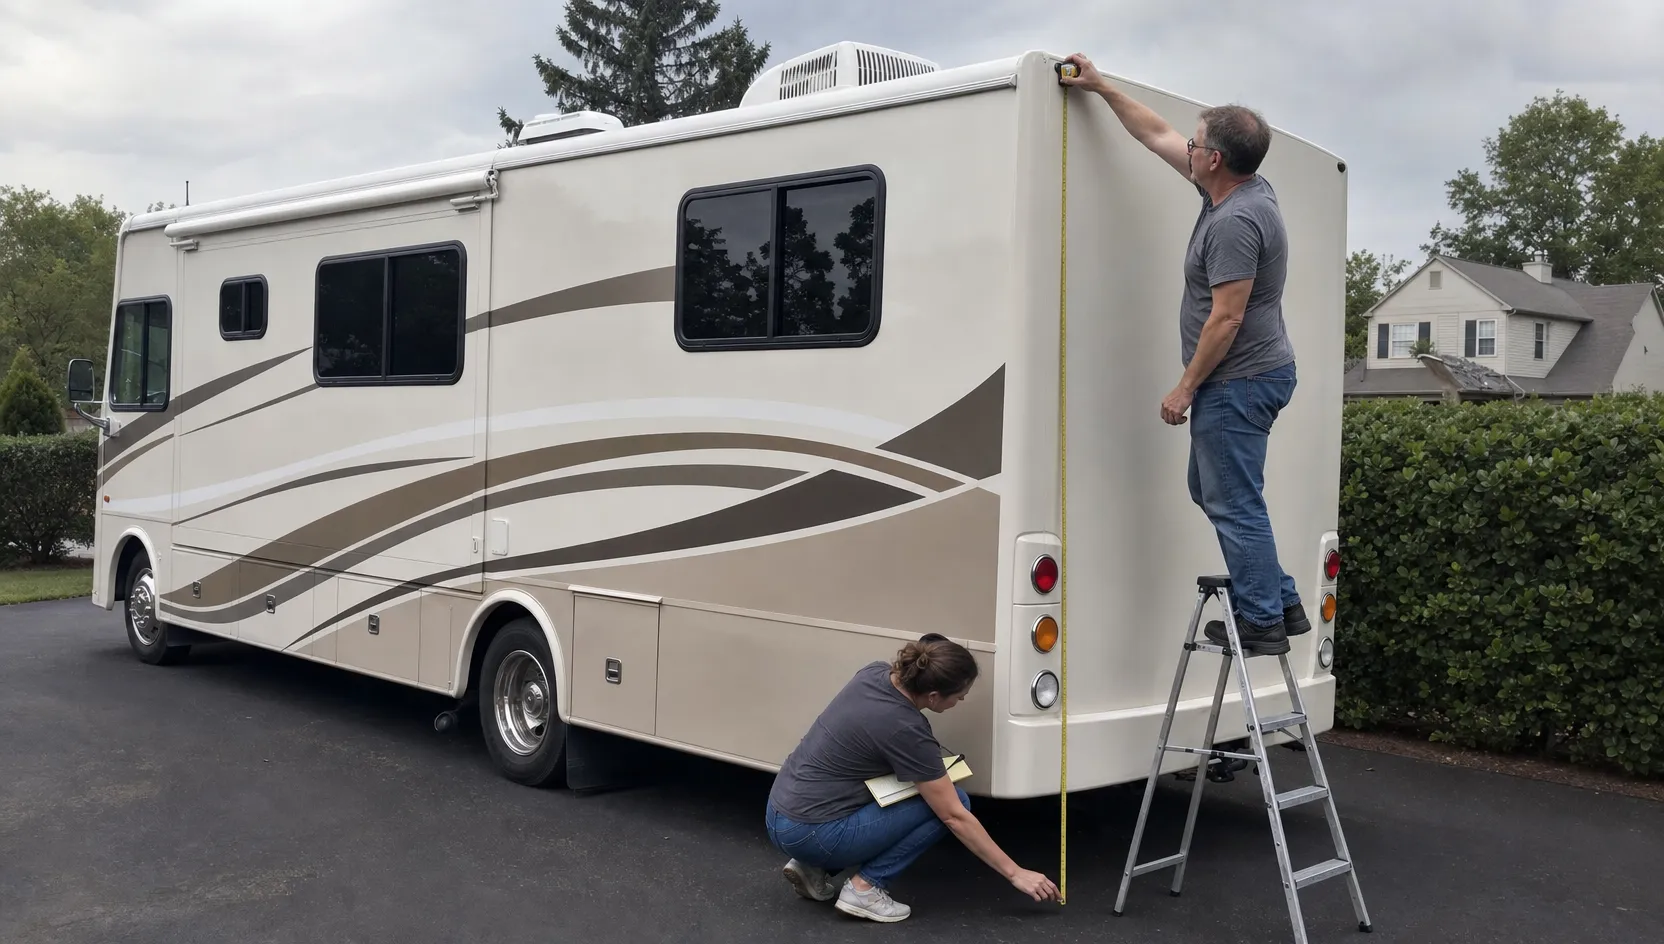
Park on level ground with antennas and awning stowed and the suspension in travel mode. Then find the tallest point, add a cushion, and write the number down.
Find and Measure the Highest Point
The tallest point is usually the roof air conditioner, but check vents, antennas, satellite dishes, solar panels, and anything on a roof rack. Measure from the ground to that point with a tape or laser measure. Ask someone to help, and never climb onto a wet or slippery roof, because a fall hurts more than any bridge strike.
Add a Cushion and Write It Down
Add a few inches for safety. If you measure 12 feet 4 inches, call it 12 feet 6 inches, and put that number on a note on your dashboard so everyone who drives knows it. Measure again after any change, like a new air conditioner, a solar panel, or a rooftop cargo box.
What Clearance Signs Mean
A posted clearance is the height a vehicle can safely pass under a bridge, tunnel, or overpass. Some states build in a small buffer, and the Texas DOT sign manual says the measured clearance should be three inches greater than the signed clearance. Don’t count on that margin, because it is a target and not a guarantee.
Treat the sign as your limit. Roadtrippers suggests subtracting 6 inches from the posted height, so a 14-foot sign becomes 13 feet 6 inches. To check a sign against your height, try our RV Height Clearance Calculator before you commit to the route.
Why Signs Can Be Wrong
Repaving can cut clearance by about 2 inches each time, according to Roadtrippers, so an older sign may promise more room than you have now. Cruise America adds that there is no guarantee a bridge is remeasured after repaving.
Interstates, Back Roads, and Older Overpasses
Interstates started with a 14-foot minimum, and in 1960 the standard rose to 16 feet. The FHWA says a 1967 survey found about 2,650 overpasses below 16 feet, and a 1969 agreement judged fixing all of them too costly.
Back roads can be lower still. Roadtrippers points out that many state and local bridges don’t have to follow federal clearance rules, especially in rural areas, so a tall RV needs extra care almost everywhere you drive.

Subscribe to
Our Newsletter
By joining, you agree to receive emails.
See our Privacy Policy.
Common Height Mistakes
Trusting the manual. Measure your actual rig, roof items included, because the brochure number often leaves them out and your roof pays for it.
Forgetting roof add-ons. Solar panels, antennas, and satellite dishes all count toward your height, so measure again after any change to your roof.
Following a standard GPS. Regular maps don’t know your height, and even RV-specific tools aren’t perfect, especially on scenic byways.
Cutting it close. Stay at least 6 inches below the posted clearance, and more when you can, because signs and pavement change over time.
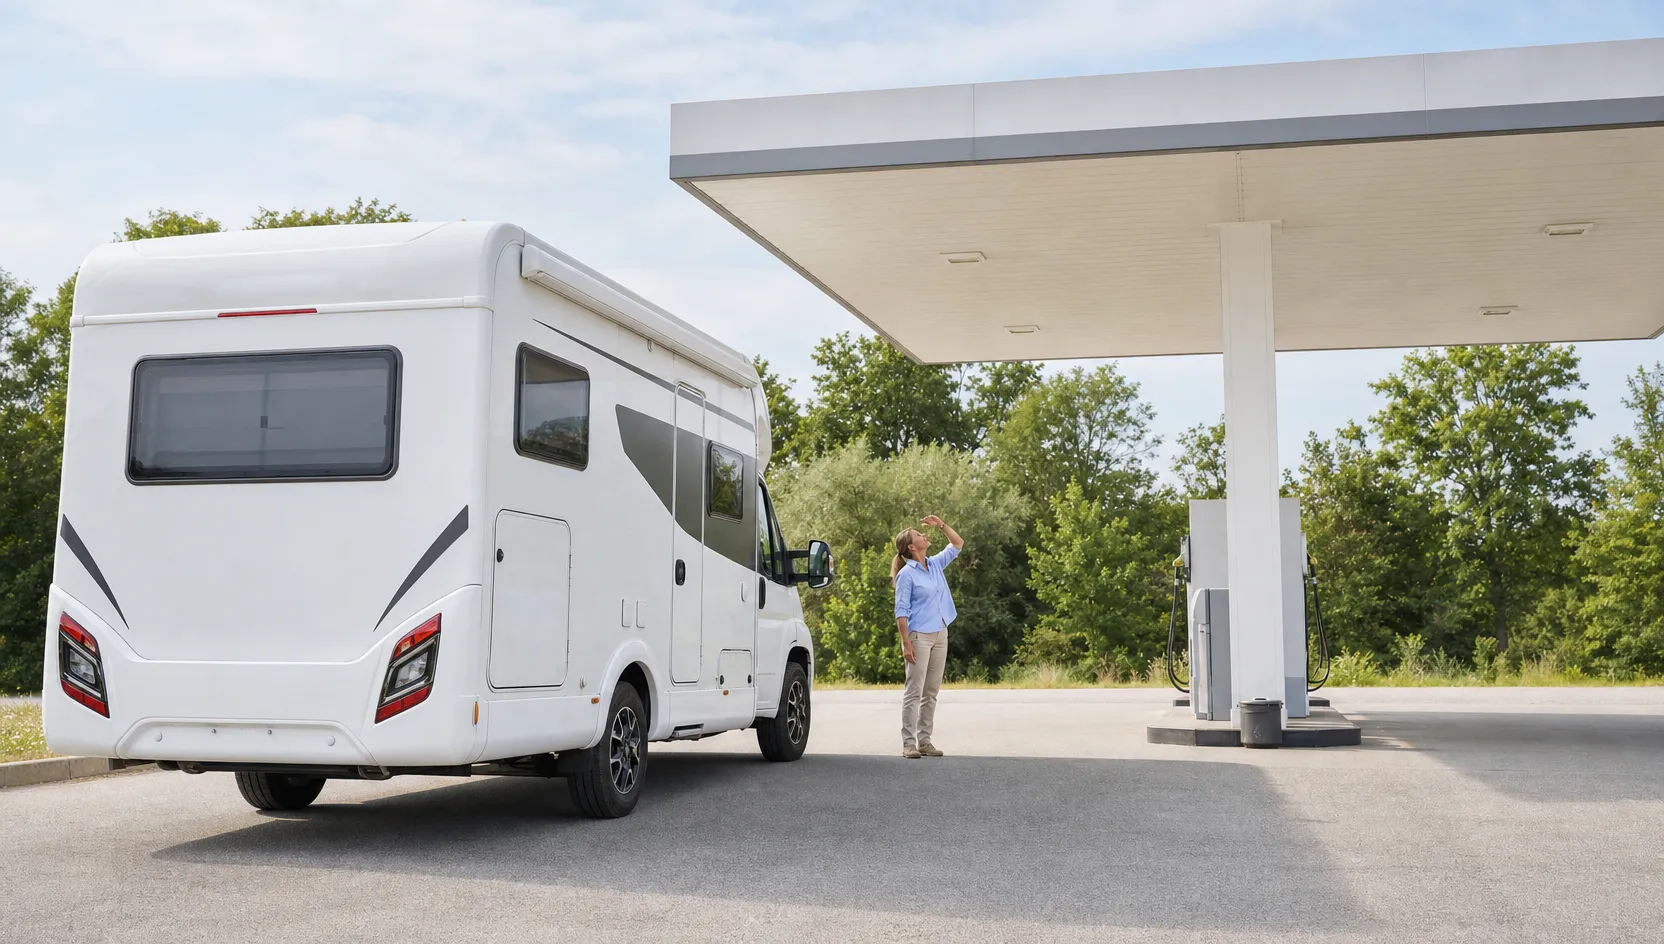
Skipping the canopy check. Gas station canopies and drive-throughs often have no warning sign, so look before you pull in.
Plan Your Route Around Your Height
Standard map apps don’t know how tall you are. Use an RV-specific GPS or route planner, enter your measured height, and keep your eyes on the road. Roadtrippers cautions that these tools aren’t 100 percent dependable, especially on scenic byways.
Our trip planning guide shows how to build a route day by day. Heading to a national park? See our national park tips for road size limits.
Watch for Hidden Low Spots
Not every low spot has a sign. Gas station canopies, drive-throughs, parking garages, power lines, and tree branches can all be lower than your roof. Before you pull into a station, have your passenger step out and check the canopy. If it looks close, fuel up somewhere else, because the next station is cheaper than a new roof.
Before You Drive Checklist
Run through these on every travel day. Each question takes only a few seconds to answer, and together they catch most height mistakes.
- Do you know your RV’s full height, including roof items?
- Is your height written on the dashboard?
- Did you check your route with an RV-specific GPS?
- Are you staying well below the posted clearances?
- Will you check gas station canopies before you pull in?
- Do you know where you can turn around safely?
What to Do If You’re Not Sure
Don’t gamble. Slowing down won’t make your RV shorter, so stop in a safe place and look for another route or a spot to turn around. If you hear scraping, stop right away and check for damage. Our driving guide shows how to use a spotter when you need to back out.
Your Next Step
Measure once, write it down, and trust your number over a sign that looks close enough. Ten minutes in the driveway can save your roof, and our beginner tips list the other habits worth building before your first trip out.